By Jen Bjers
Happy New Year, form fans. We’re ready for another great year of tips, tricks and form wisdom here on the blog so be ready. If you’re a newbie, then today’s installment is a great tutorial on the various automated emails you can send using Wufoo. If you’re a seasoned pro, then this will be a nice refresher course.
Let’s begin…
In Wufoo, there are several automated emails that can be sent once an entry is submitted. If you’re collecting payments, then you’ll have the option to customize a receipt email as well. *Note: Wufoo was was not designed for email marketing. Thus, it’s not possible to compose and send custom emails out of Wufoo. This is where our powerful integrations come in. We integrate with MailChimp and Campaign Monitor so that you can get your email marketing campaign off the ground in a snap.
Here’s a breakdown of our different email types.
Standard Emails:
Notification
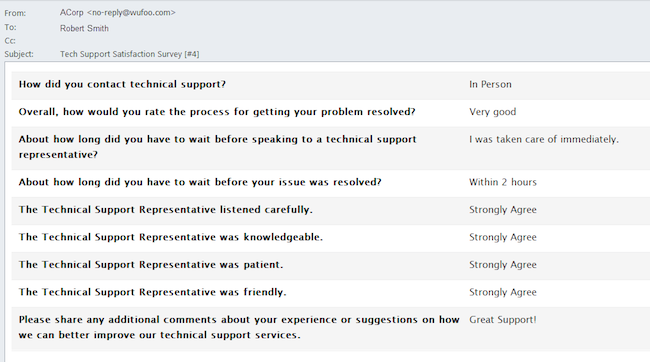
The Notification email is intended to notify form admins of new entries as well as new comments appended to entries in the Entry Manager. You can add multiple recipients to the Notification email if you’d like; simply separate each email address with a comma. *Note: This type of email cannot be customized. The email will contain the form name and entry information for all fields that have input. If a field is left without input or hidden with rules then it will not be included in the body of the Notification email. Customization options are available for the From Name/Company Name and Subject line.
Sample Notification Email
If you have a long list of admins that should receive the Notification email, then it’s important to know that there’s a 255 character limit for the number of email addresses you can input in the setup. You may need to trim the list of “need-to-knows” to fit within the character limit. As a workaround, consider creating a forwarding group address on your email server and curate your email list there. Last step? Add that single group address within Wufoo.
Entry Email
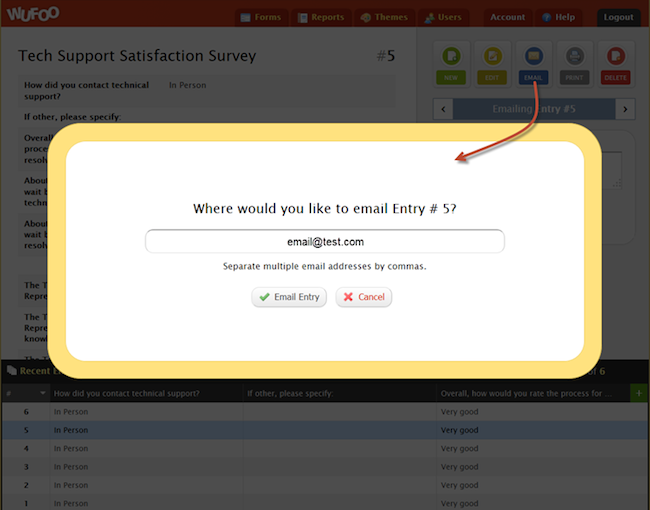
You can email the entry data directly out of the Entry Manager to the recipient of your choosing. This email is similar to the Notification email and will contain all entry data: the submitted data, IP address, date created and a permanent link to the entry in the Entry Manager.
Confirmation
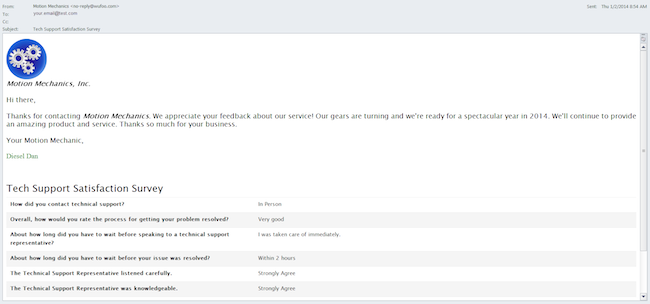
The Confirmation email is intended to confirm with the person that has submitted the entry that the entry was received. The email body is customizable for you to add your message. Styling the email, including adding a logo or other images, is possible using HTML. You have the option to Include a Copy of the User’s Entry Data as well. Furthermore, you can customize who the email is being sent from – using either your name or the name of your company, organization, school, team, etc.
The email is always sent from no-reply@wufoo.com or apache@wufoo.com. *Note: The origin email address is not customizable. Additionally, it’s not possible to customize the subject line of the Confirmation email either. The standard subject line is Form Name and the Entry ID. If you’d like to have customizing capabilities for the Confirmation email then you’ll want to set this up using a Form Rule Confirmation.
Sample Confirmation Email
Important: The Notification and Confirmation emails are sent when the entry is submitted. This happens prior to payment processing. Be careful with wording in your Confirmation Email not to confirm that payment has been received. It’s possible for the person to submit the entry but not complete payment. Your confirmation email should note that a receipt email will be sent once payment is processed.
Payment Email:
Custom Receipt
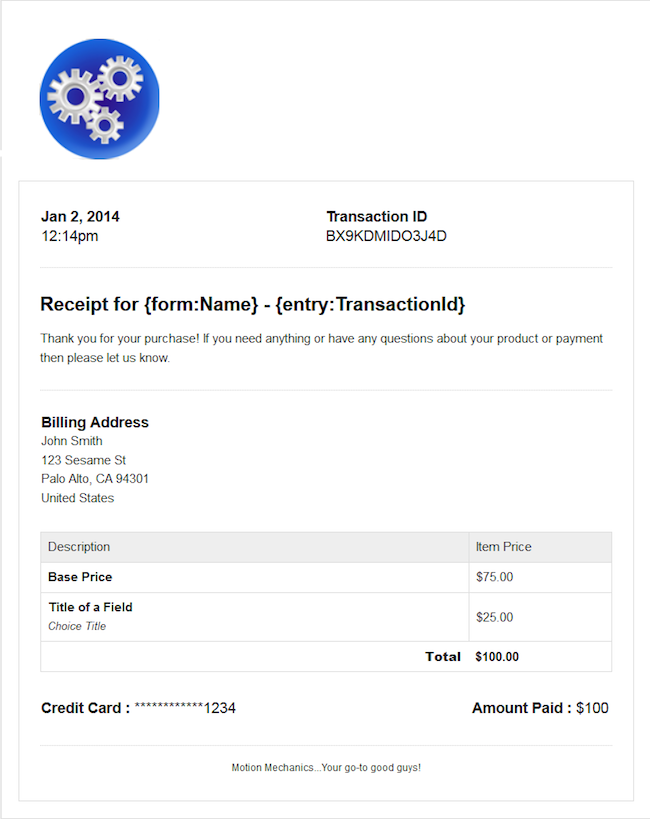
If you’re integrating for payment with Stripe, Braintree, PayPal Pro or PayPal Payflow Pro, Authorize.net, or USA ePay then you can fully customize a receipt email sent to the user once the payment has been processed. Your Name/Company Name, Subject Line, Message, Reply To, and Footer are fully customizable. The email will also include the transaction information (Purchase Total, Date, and Transaction ID). The theme applied to your form will pass through to the styling of the receipt email as well.
Sample Receipt Email
Form Rules:
Via Form Rules, you can create Custom/Conditional Confirmation emails as well as Conditional Notification emails. For example, say you’re providing a contact form to your customers. You have three departments that customers may need to contact: Sales, Marketing, and Support. If the customer selects Sales from a drop-down or multiple choice field then you can send a custom confirmation email specific to a Sales lead. You’ll also be able to send the Notification email to the Sales department so they’re aware of the incoming lead. Follow suit for the Marketing and Support departments.
It’s important to know that you may send one confirmation email to one email address input in the form (both standard Confirmation setup or via Rules). Additionally, only one rule (the last rule met in the list) will fire off the Confirmation and/or Notification email. For example, if you have a checkbox field for Sales, Marketing, and Support it’s not possible to send Notification emails to each department if more than one box is selected.
The last rule that meets the required condition will be the one that sends the email. If Support is the last rule in the list, then the Support department will be the only one to receive the email. Finally, Form Rules trump the standard Confirmation and Notification setup in Form Settings and Notifications.
And that’s a wrap, form fans. Before we sign off, I leave you with this little gem…until next time!
Signed, Sealed, Delivered.


